Overview
Odyssey is a game engine built on top of Bevy with a hybrid raytracing renderer. Geometry is voxels, stored in a custom sparse voxel octree and traversed entirely on the GPU in WGSL, then shaded with a Disney "principled" BSDF. The raytracer runs as a node inside Bevy's main pass, so traced voxels composite against the normal rasterized scene rather than replacing it — hence "hybrid".
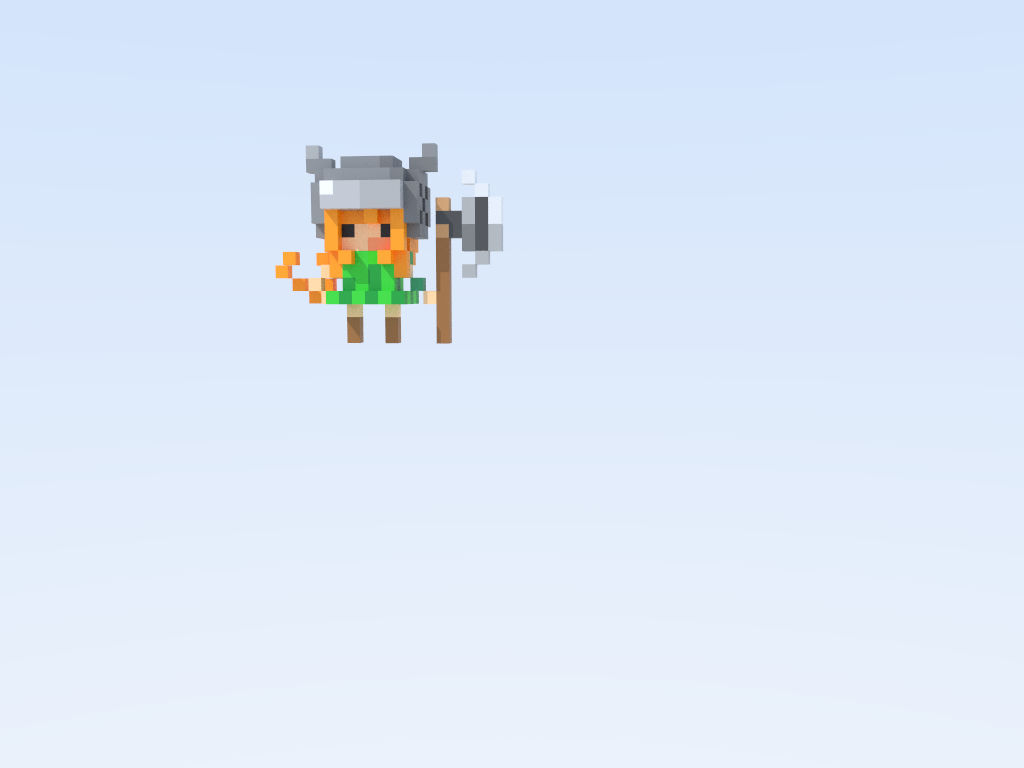
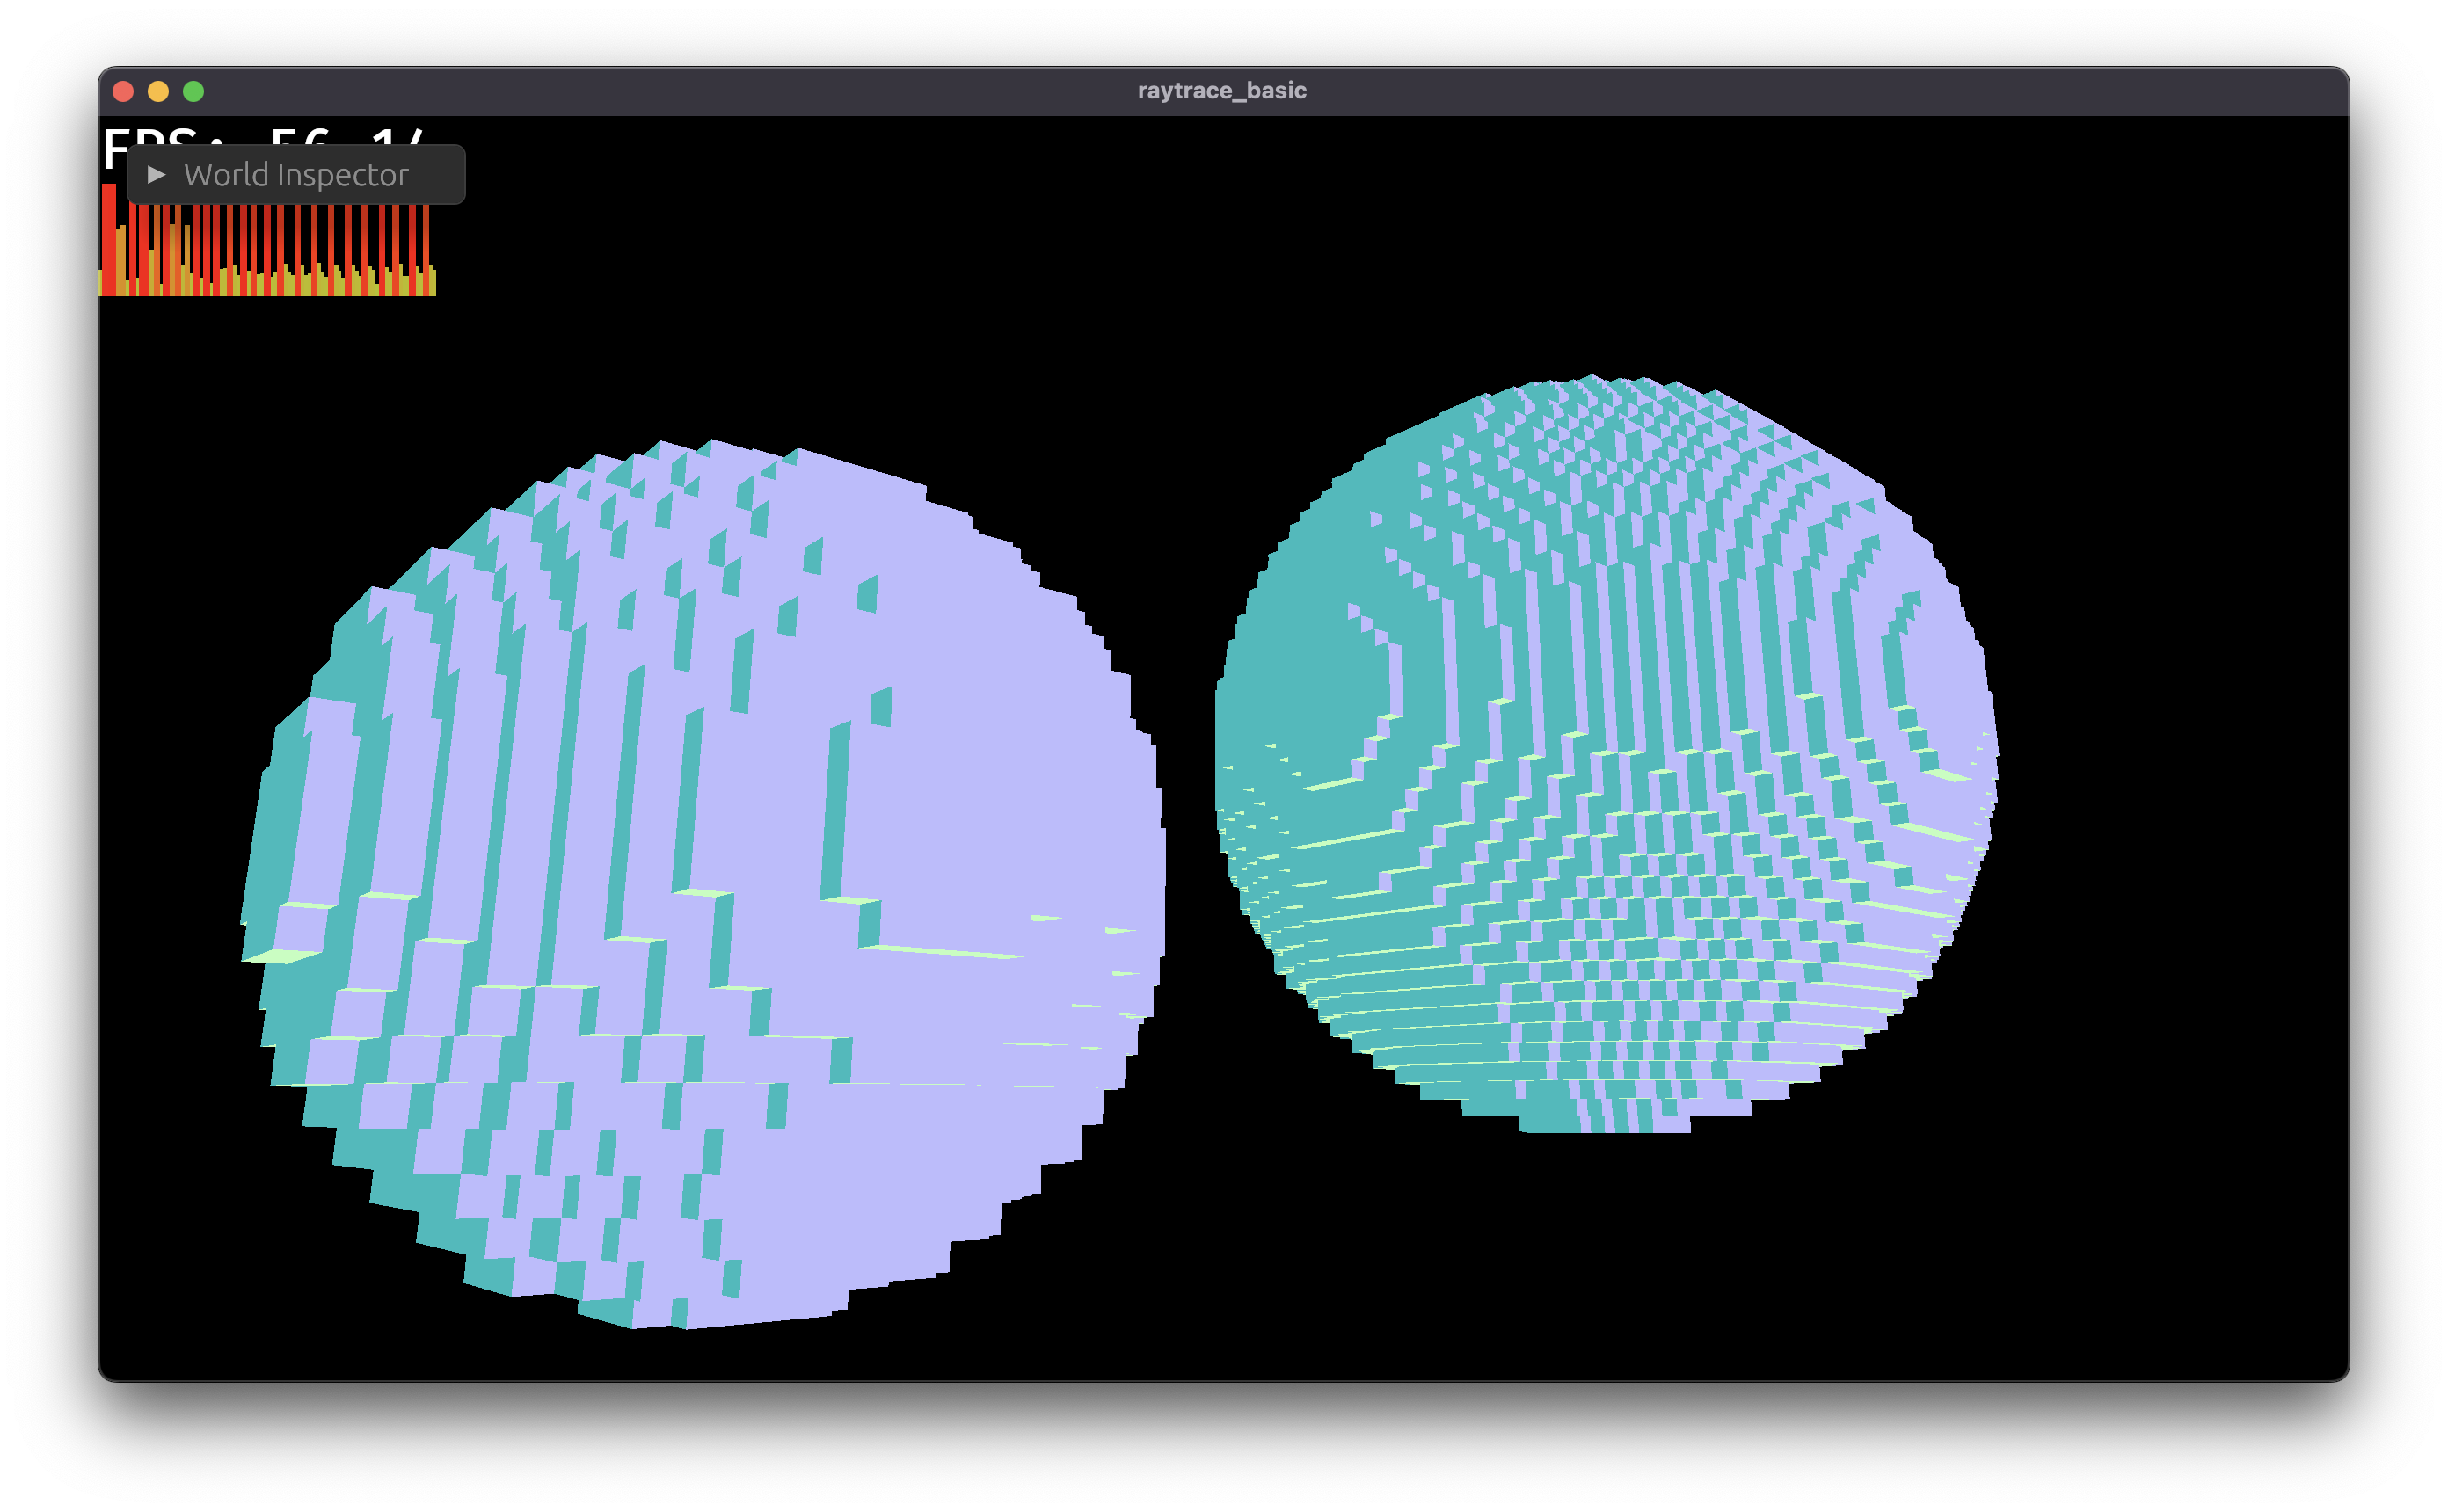
The whole thing is a Cargo workspace in Rust:
odyssey/
├── crates/
│   ├── odyssey_volume/   # SVO + storage backends (the data structure)
│   ├── odyssey_render/   # render graph node, WGSL shaders, materials
│   ├── odyssey_ray/      # ray primitives
│   ├── odyssey_assets/   # .vox loading
│   ├── odyssey_noise/    # procedural generation
│   ├── odyssey_ui/       # Dioxus + Tailwind editor UI
│   └── odyssey_internal/ # plugin glue re-exported by the root crate
└── examples/             # cornell_box, material_grid, white_furnace, vox_viewer, ...
Running it is one command:
cargo run --example raytrace_basicWhy voxels
Voxels make the hard part of raytracing tractable. There's no BVH to rebuild when the world changes — the acceleration structure is the geometry. A sparse octree gives empty space for free (an absent child costs nothing) and gives level-of-detail for free (stop descending early and you have a lower-resolution version of the same model). The tradeoff is that everything is axis-aligned boxes, which is exactly the aesthetic I wanted anyway.
The sparse voxel octree
odyssey_volume is deliberately generic over storage. A volume is a LeafStore plus shared addressing logic, with three interchangeable backends:
Octree— a real pointer-based sparse octree, lazily allocated. Each node is eitherInternal(Box<[Option<Node>; 8]>)or aLeaf. It covers a centered cube of side2^depth, with leaf coordinates in[-half, half).DenseGrid— a flat 3D array. Simple, fast to write, memory-hungry. Useful as a correctness reference.FlatBrickMap— a middle ground for dense-ish regions.
Having three backends behind one trait meant I could write the renderer once and swap the structure underneath while benchmarking, rather than committing to an octree before knowing it was worth it.
GPU traversal
The interesting half lives in octree_traversal.wgsl, an implementation of Laine & Karras, Efficient Sparse Voxel Octrees (NVIDIA). The trick that makes it fast is that it never does a general ray/box intersection. Instead:
- The octree is placed in the
[1, 2)unit cube. That range is chosen so the float exponent is constant and the mantissa bits below a given scale directly index the voxel grid — the float representation is the octree address. - The ray is mirrored into a canonical octant so its direction is negative on every axis, tracked in an
octant_mask. That collapses eight traversal cases into one. - Per-axis parametric coefficients are precomputed once, so the
tat any planepis justt(p) = p * t_coef - t_bias— a multiply and a subtract per plane test.
// Maximum octree scale (number of fractional bits used to address voxel corners).
const OCTREE_MAX_SCALE: i32 = 23;
const EPSILON: f32 = exp2(f32(-OCTREE_MAX_SCALE));

// Max depth the traversal stacks can hold. `.vox` assets are depth <= 8
// (MagicaVoxel's 256^3 limit), leaving headroom while keeping the per-thread
// stacks small to reduce register pressure.
const OCTREE_MAX_DEPTH: u32 = 12u;
That last constant is the kind of detail that only shows up once you're on hardware: the traversal stack is per-thread, per-thread memory is registers, and registers cap occupancy. Making the stack "big enough and no bigger" is a real performance knob, not bookkeeping.
Shading — the Disney BSDF
Once a ray finds a voxel, the material model takes over. disney_bsdf.wgsl implements Burley's "Physically Based Shading at Disney" (SIGGRAPH 2012) principled BSDF, with the extensions a path tracer actually needs: anisotropy, VNDF importance sampling, and one-sample multi-lobe MIS.
A path tracer needs three operations from a BSDF, and the shader is organized around exactly that:
- Evaluate
f(wo, wi)— the BRDF value for a given pair of directions. - PDF
p(wo, wi)— the probability density of having sampledwi. - Sample — draw a new
wiroughly proportional tof, returningfand the pdf with it.
All three are required because of multiple importance sampling: when you sample a light you need the BSDF's pdf to weight it against, and when you sample the BSDF you need the light's pdf. Evaluate and PDF share most of their work, so they return together in one BsdfEval struct rather than recomputing.
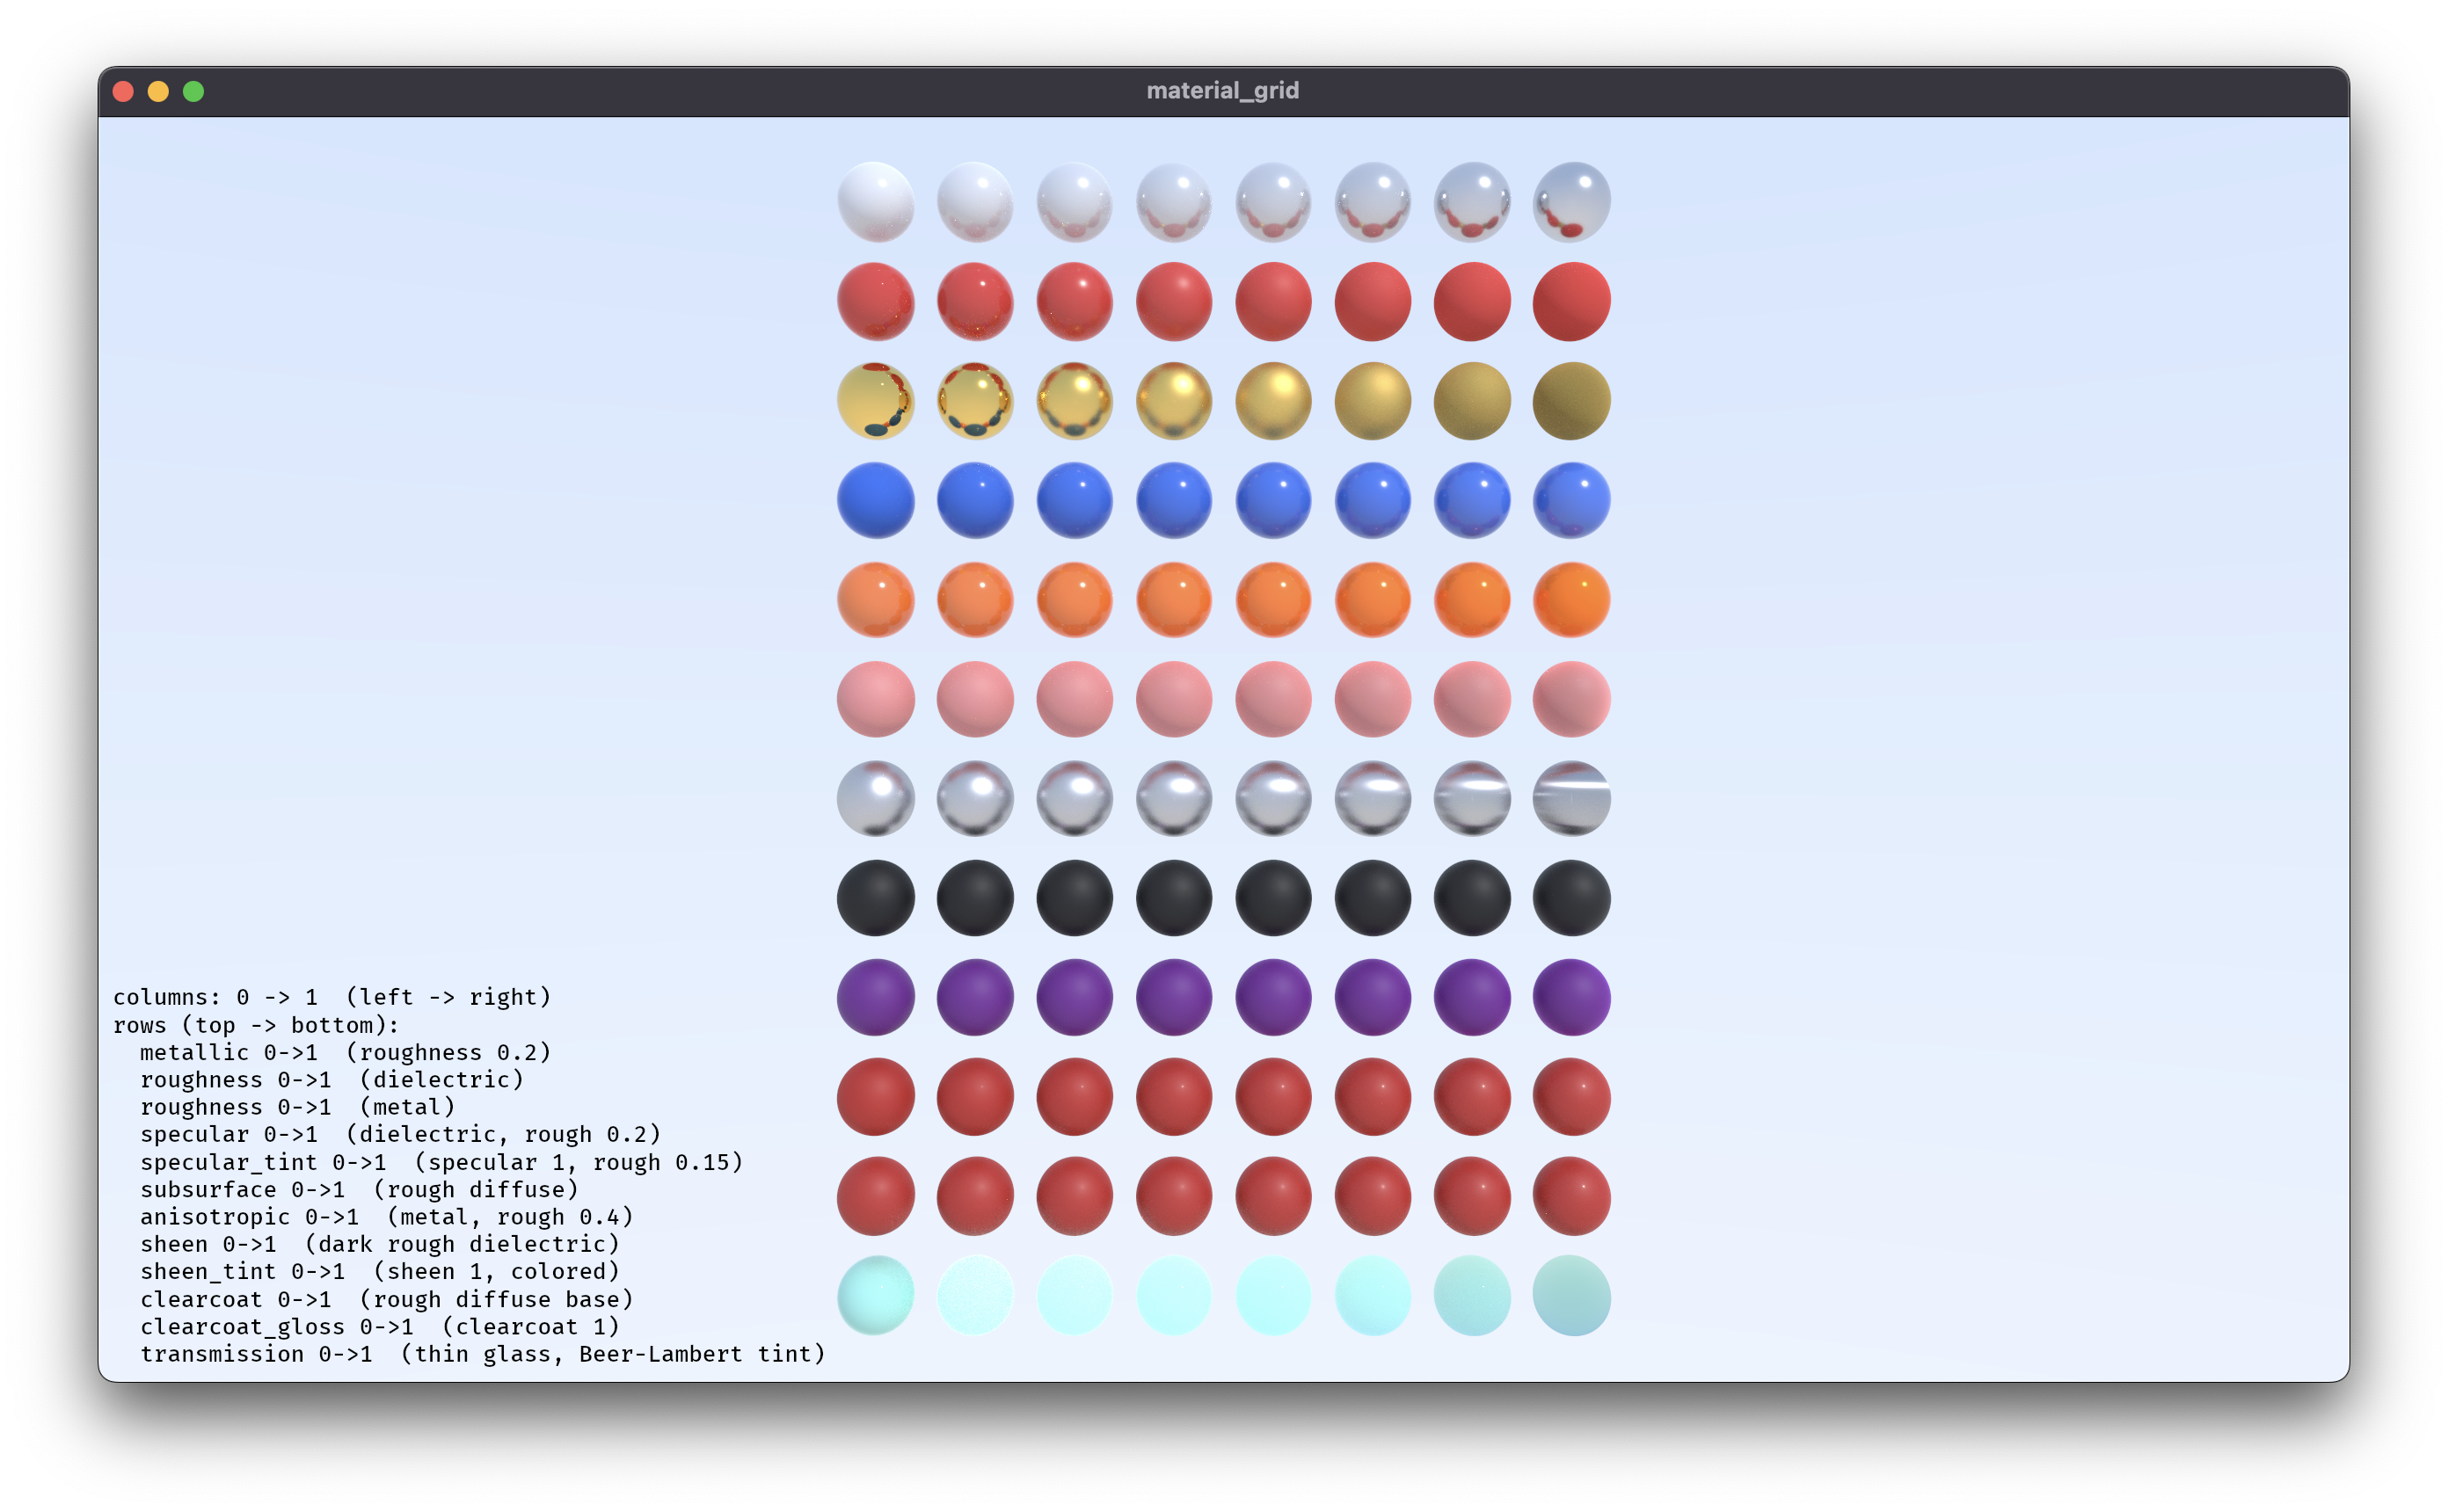
That grid is the single most useful thing in the repo. Every parameter has a row, every row sweeps 0 to 1, and any regression in the BSDF shows up as a row that stops looking like a smooth gradient. It caught more bugs than any unit test.
There's a white_furnace example alongside it — the standard energy-conservation check. Put a surface in a uniformly white environment and it should vanish: if the material reflects exactly the energy it receives, it becomes indistinguishable from the background. Anything visible is energy being created or destroyed.
The shading model is swappable at the call site, so a suspicious render can be checked against a pure Lambertian reference:
// Swap which shading model the primary hit uses:
// `trace_path_bsdf` (Disney BSDF) or `trace_path_lambert` (pure Lambertian reference).
#import odyssey::shading::{trace_path_bsdf, trace_path_lambert}
Color space
The raytracing node runs between MainTransparentPass and EndMainPass — before Bevy's tonemapping. So everything in the shader is in the same linear working space as the rasterized scene: materials upload as linear LinearRgba, sampling the screen texture returns linear values, and the shader writes linear with no gamma applied. The single linear-to-display conversion happens once, downstream, in Bevy's tonemapping pass.
This is written down in a large comment at the top of hybrid_raytrace.wgsl, because getting it wrong is invisible until it isn't — a stray pow(x, 1.0/2.2) anywhere in the node double-encodes the output, and the result looks washed out but plausible rather than obviously broken.
Debugging a renderer
You cannot debug a shader with a print statement, so the renderer ships with debug render targets bound to number keys. Each one dumps an intermediate of the pipeline straight to the screen:
| Key | Target | What it shows |
|---|---|---|
| 1 | Albedo | Raw material color, no lighting |
| 2 | Depth | Distance along the primary ray |
| 3 | Normals | Surface orientation at the hit |
| 4 | Bvh | Octree traversal step count, as a heatmap |
| 5 | Full | The real shaded image |
The step-count heatmap is the one that matters for performance. It colors each pixel by how many traversal iterations its ray took, so hot spots are literally visible — a region that glows red is a region where the octree is making rays work too hard:
// Step count mapped to full red in the octree-traversal cost heatmap.
// Tune to your scene: lower it to make hot spots pop, raise it if
// everything is already red.
const OCTREE_STEP_VIZ_MAX: f32 = 128.0;
For the frame as a whole there's Tracy integration behind feature flags — trace_tracy for a span per ECS system plus GPU pass timings, and trace_tracy_memory to add GPU-to-CPU transfers and allocations.
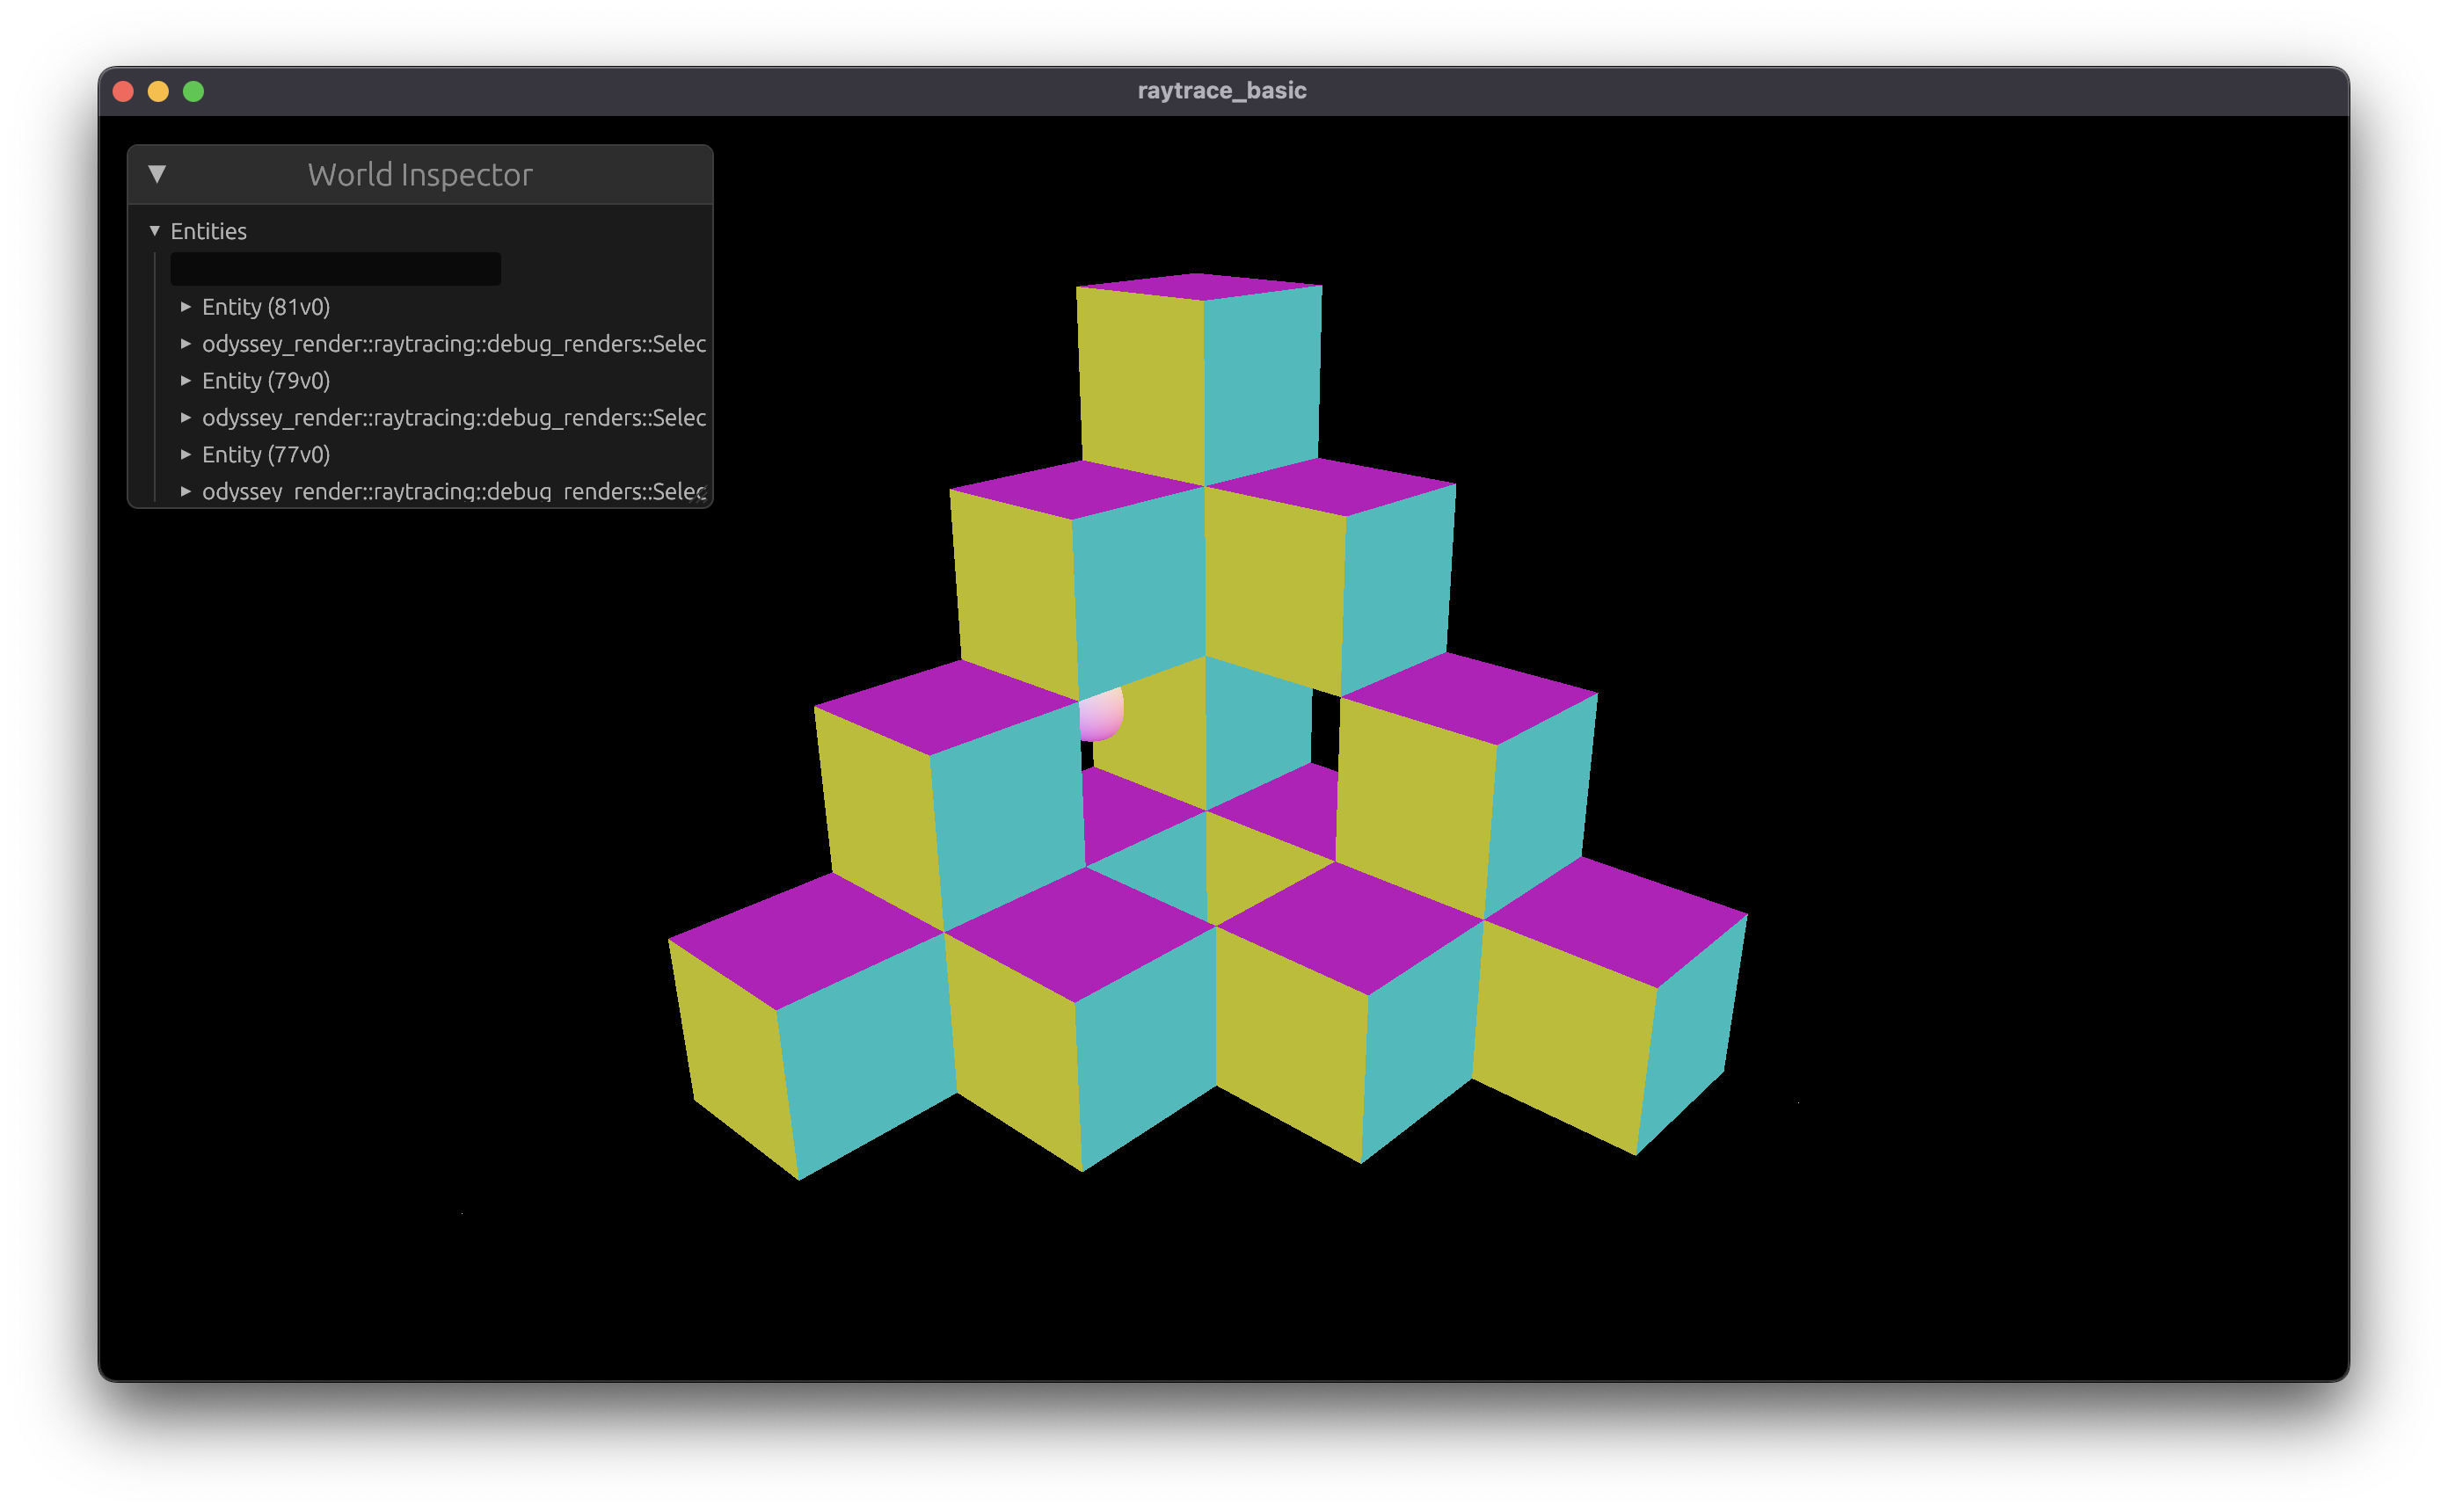
Bloopers
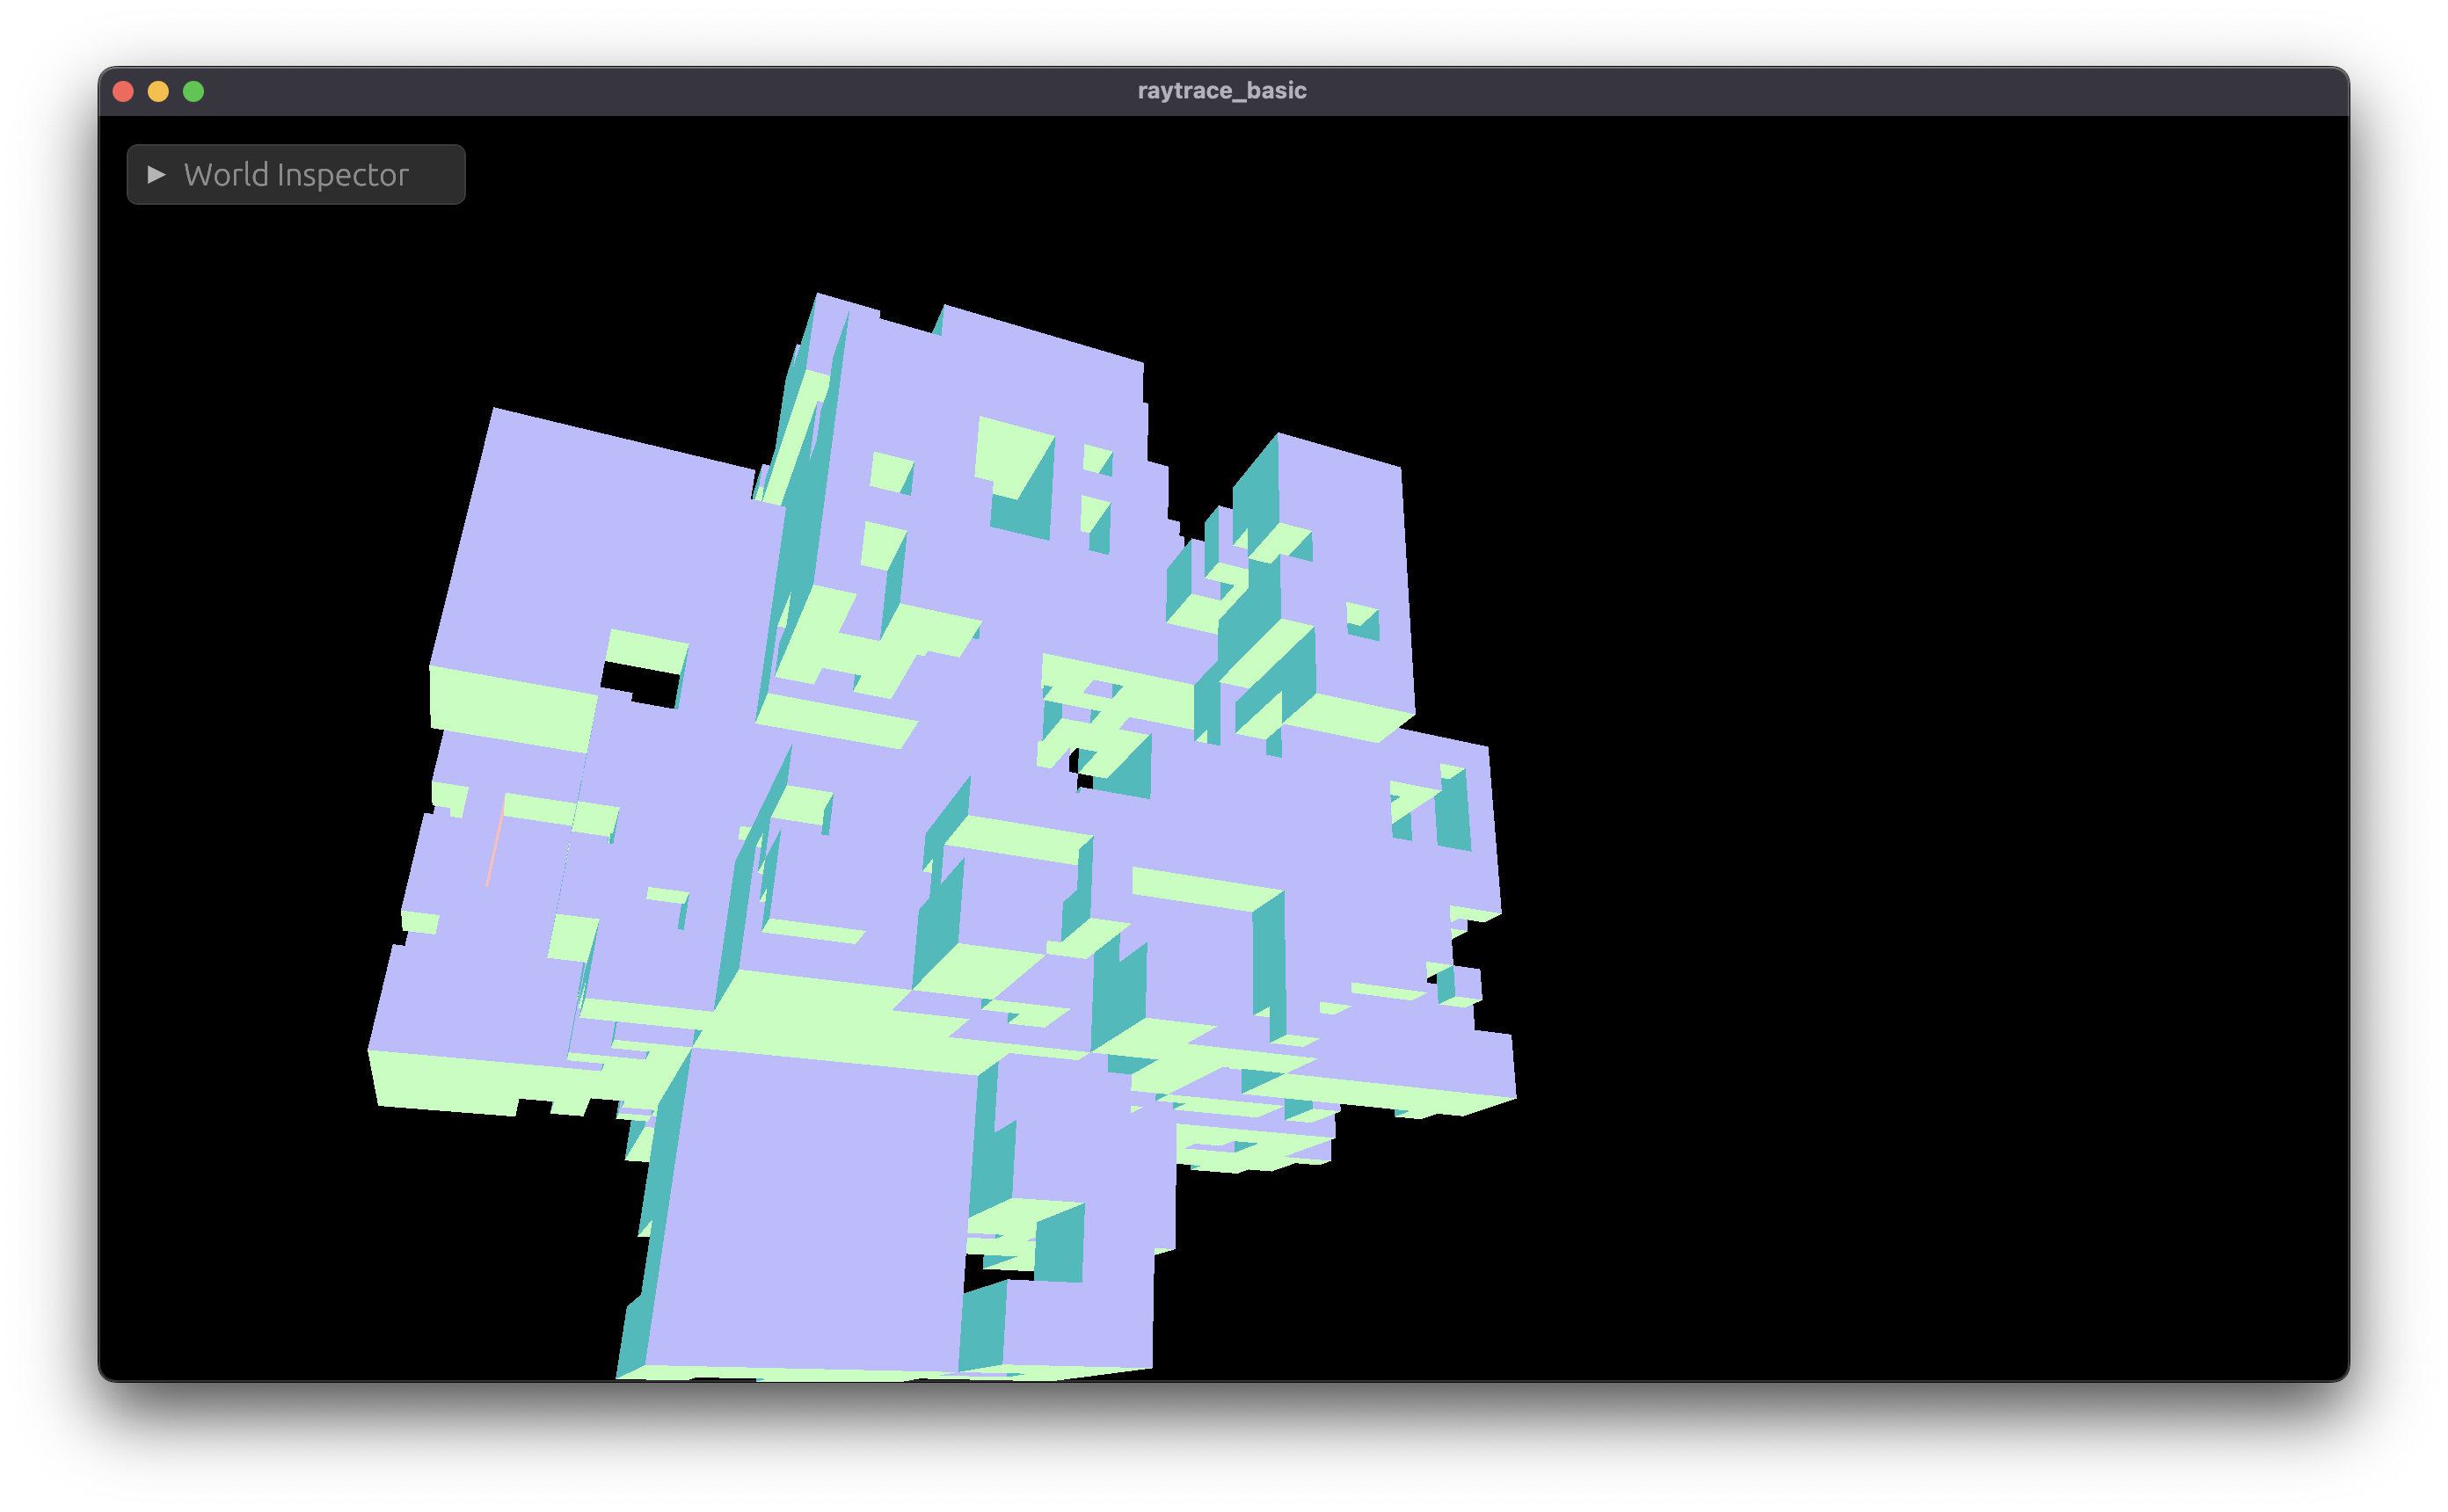
Writing a traversal algorithm is mostly a process of generating abstract art by accident. When the ray setup, the octant mirroring, or the child ordering is wrong, you don't get a subtly incorrect image — you get something that looks nothing like a scene at all. A few favorites, in roughly the order they happened.
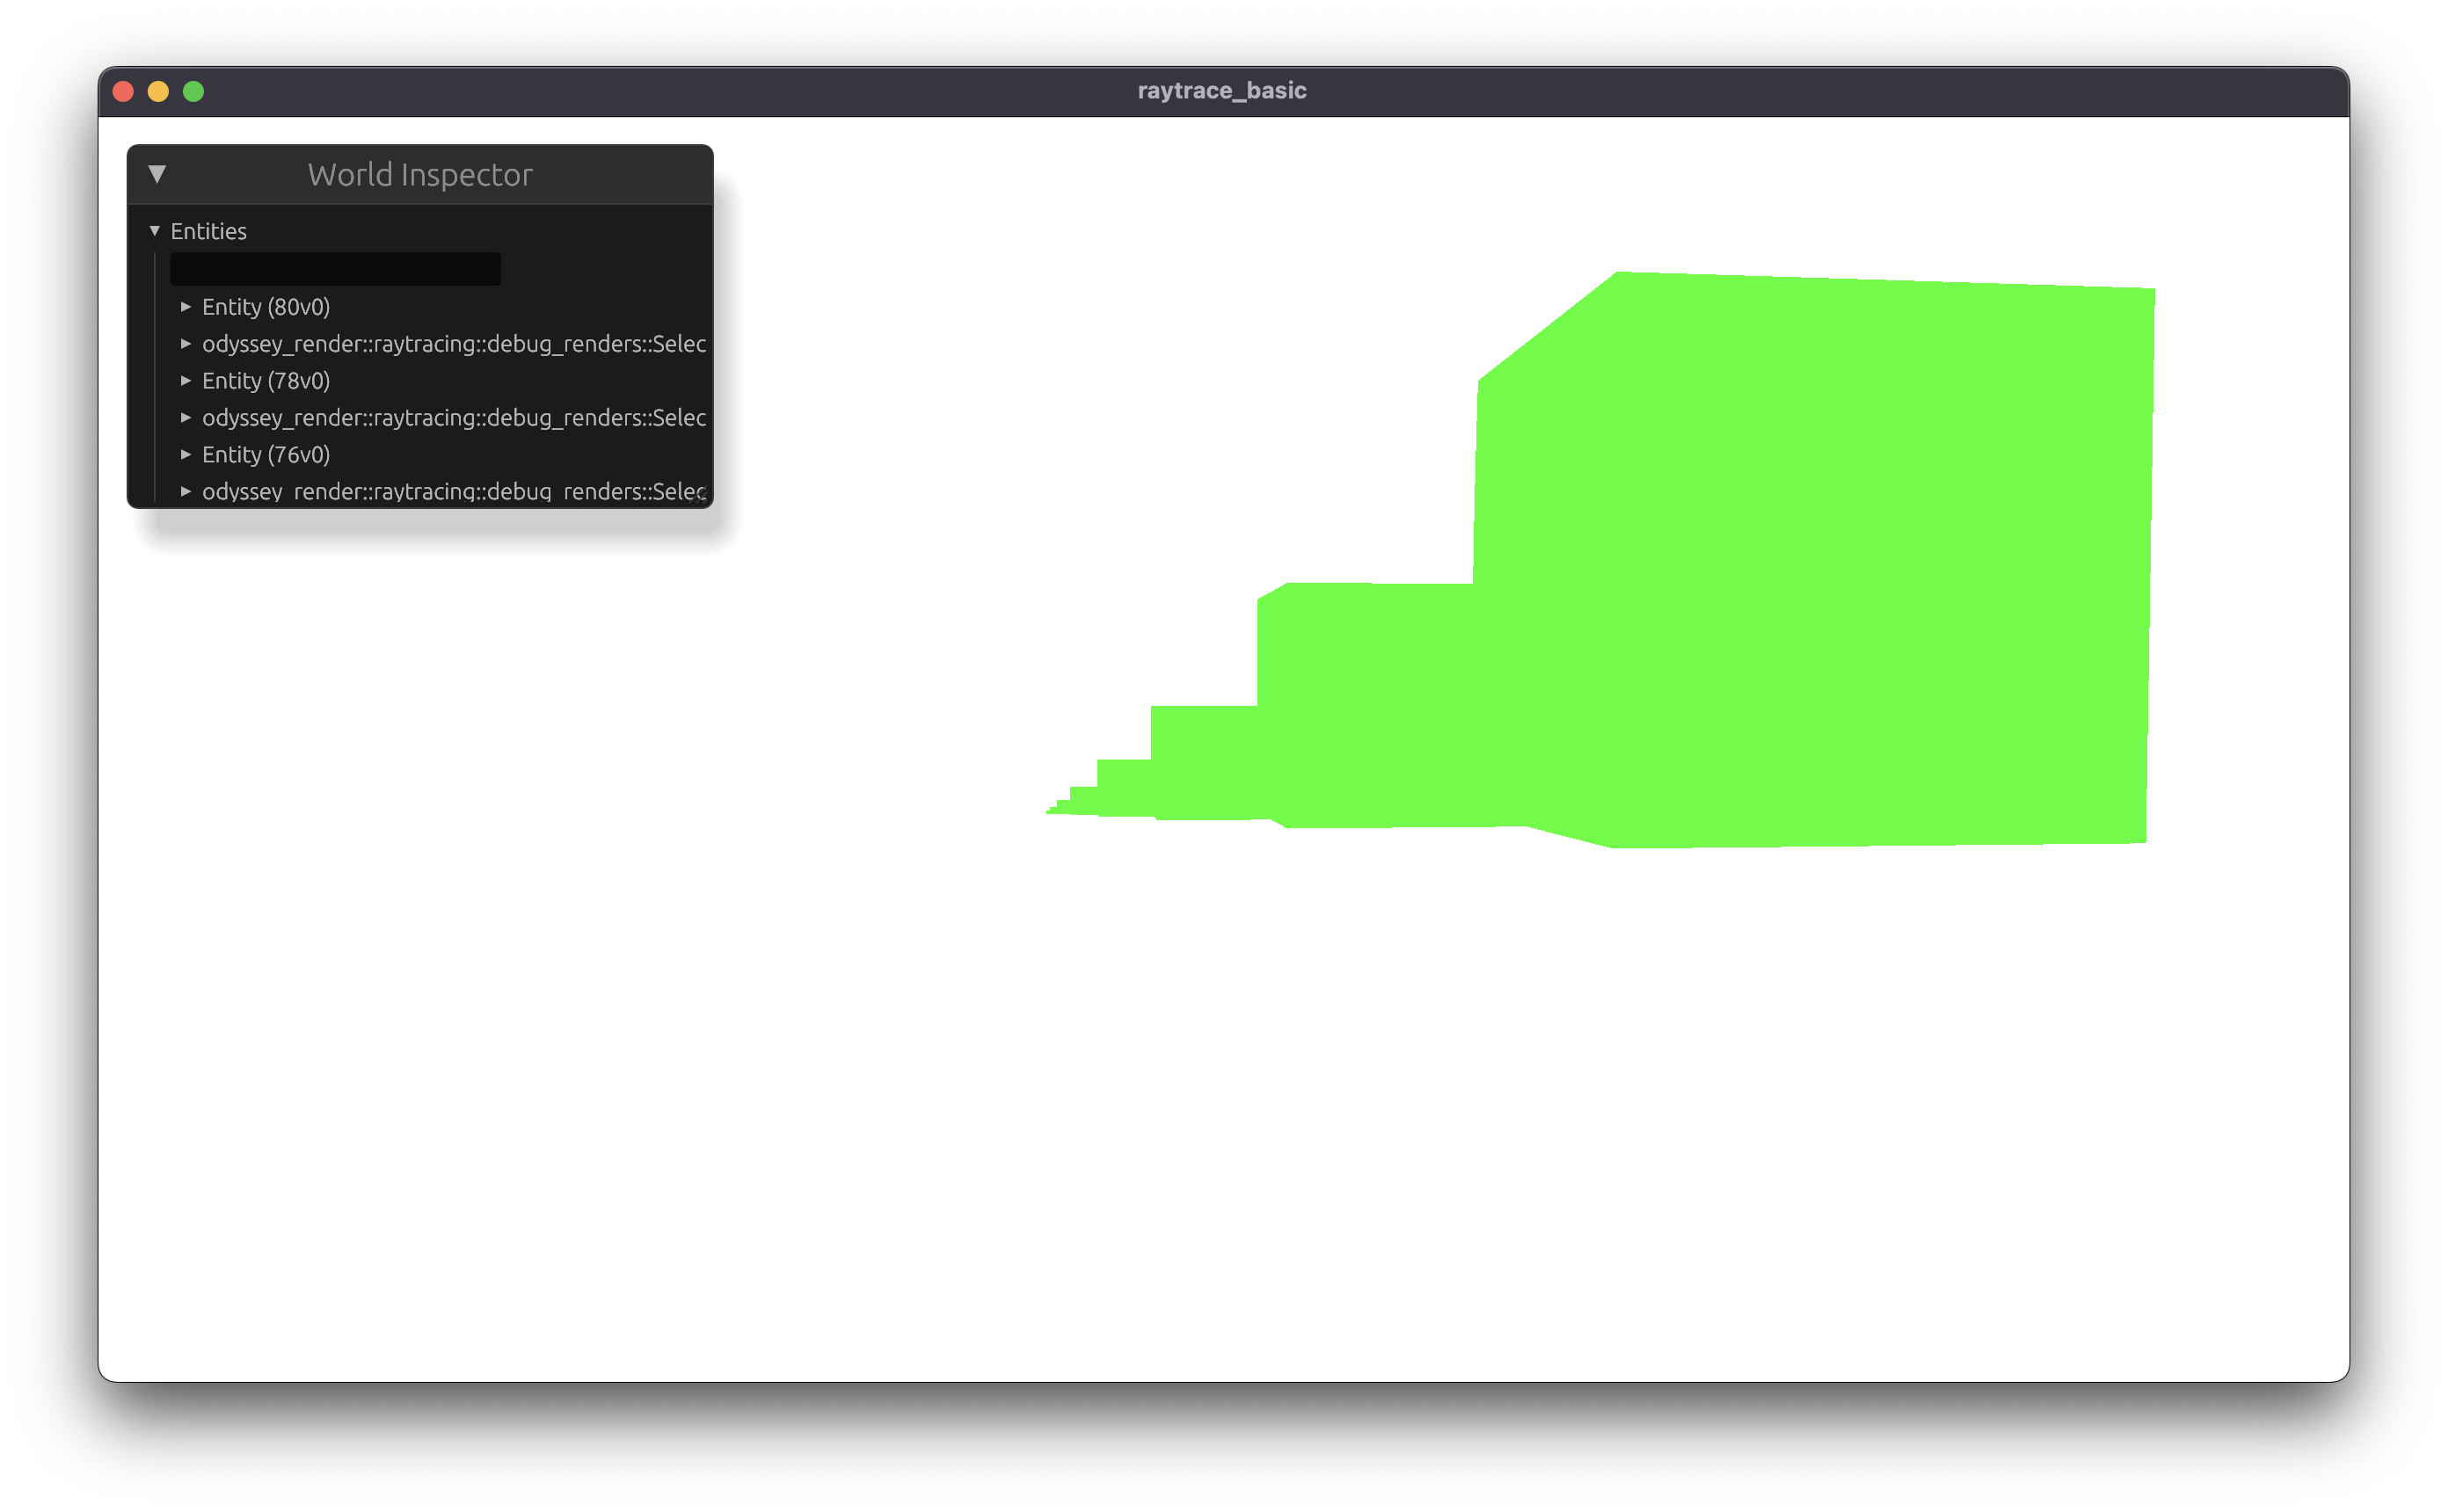
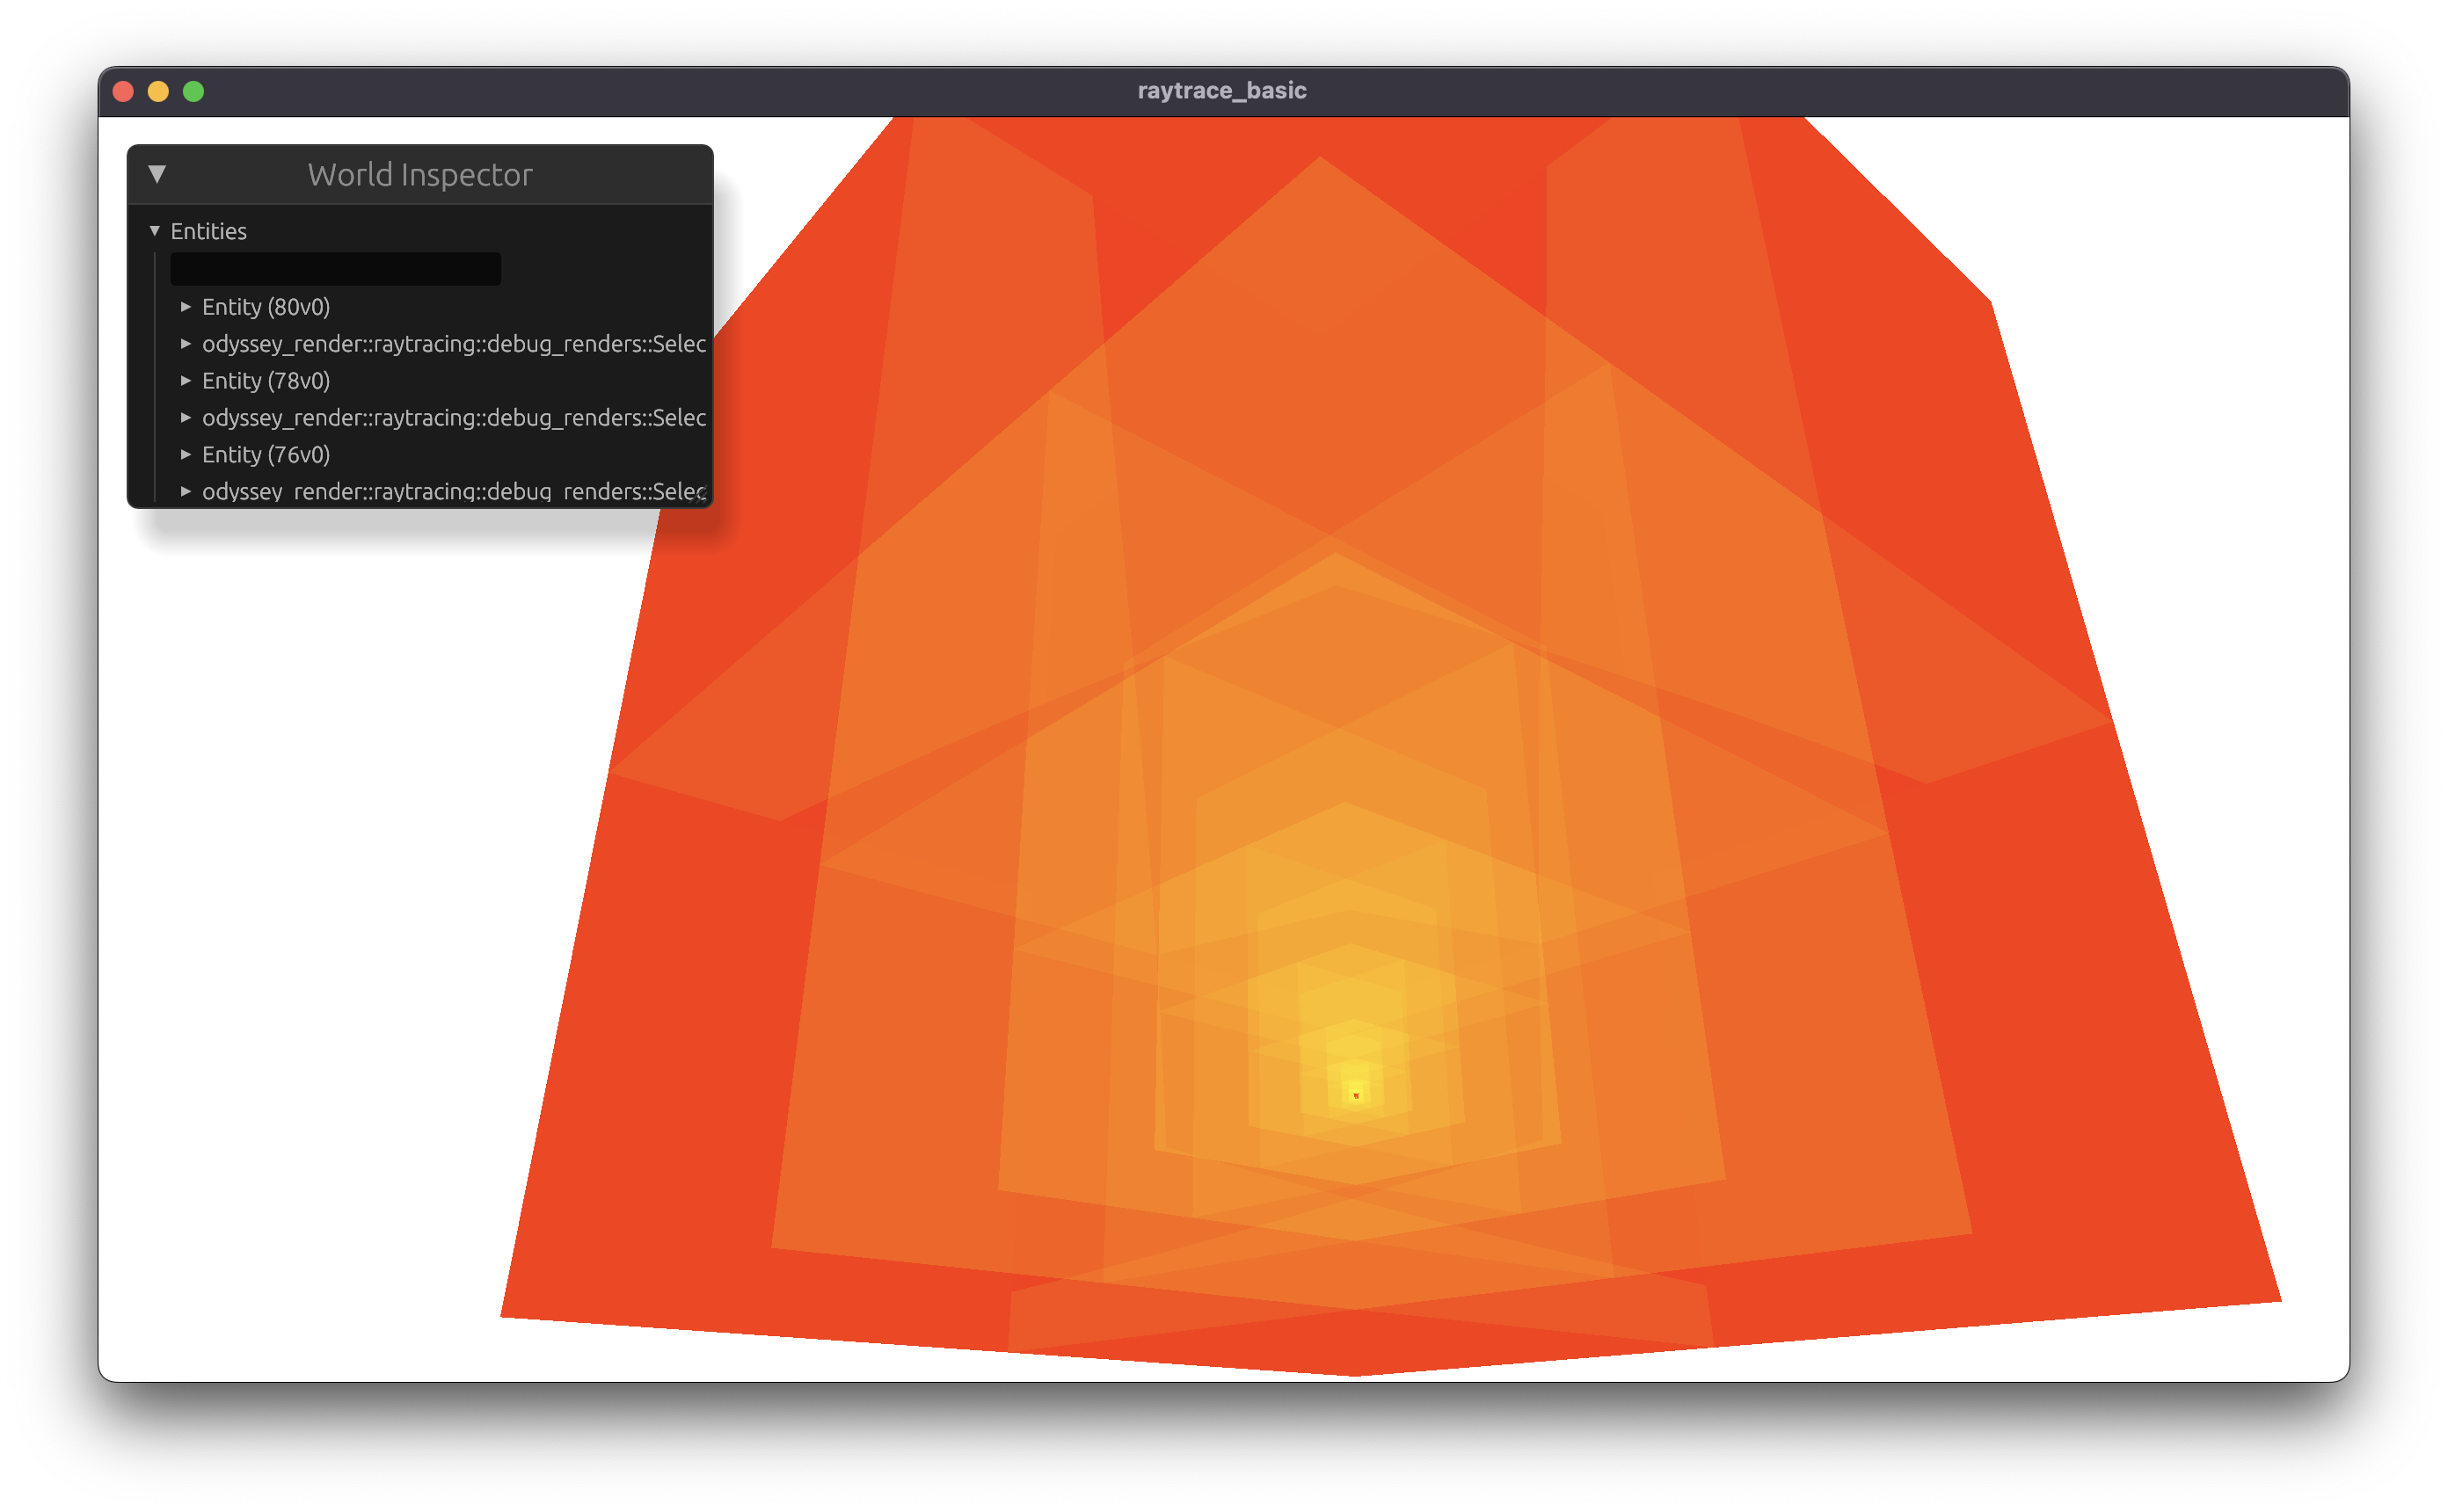
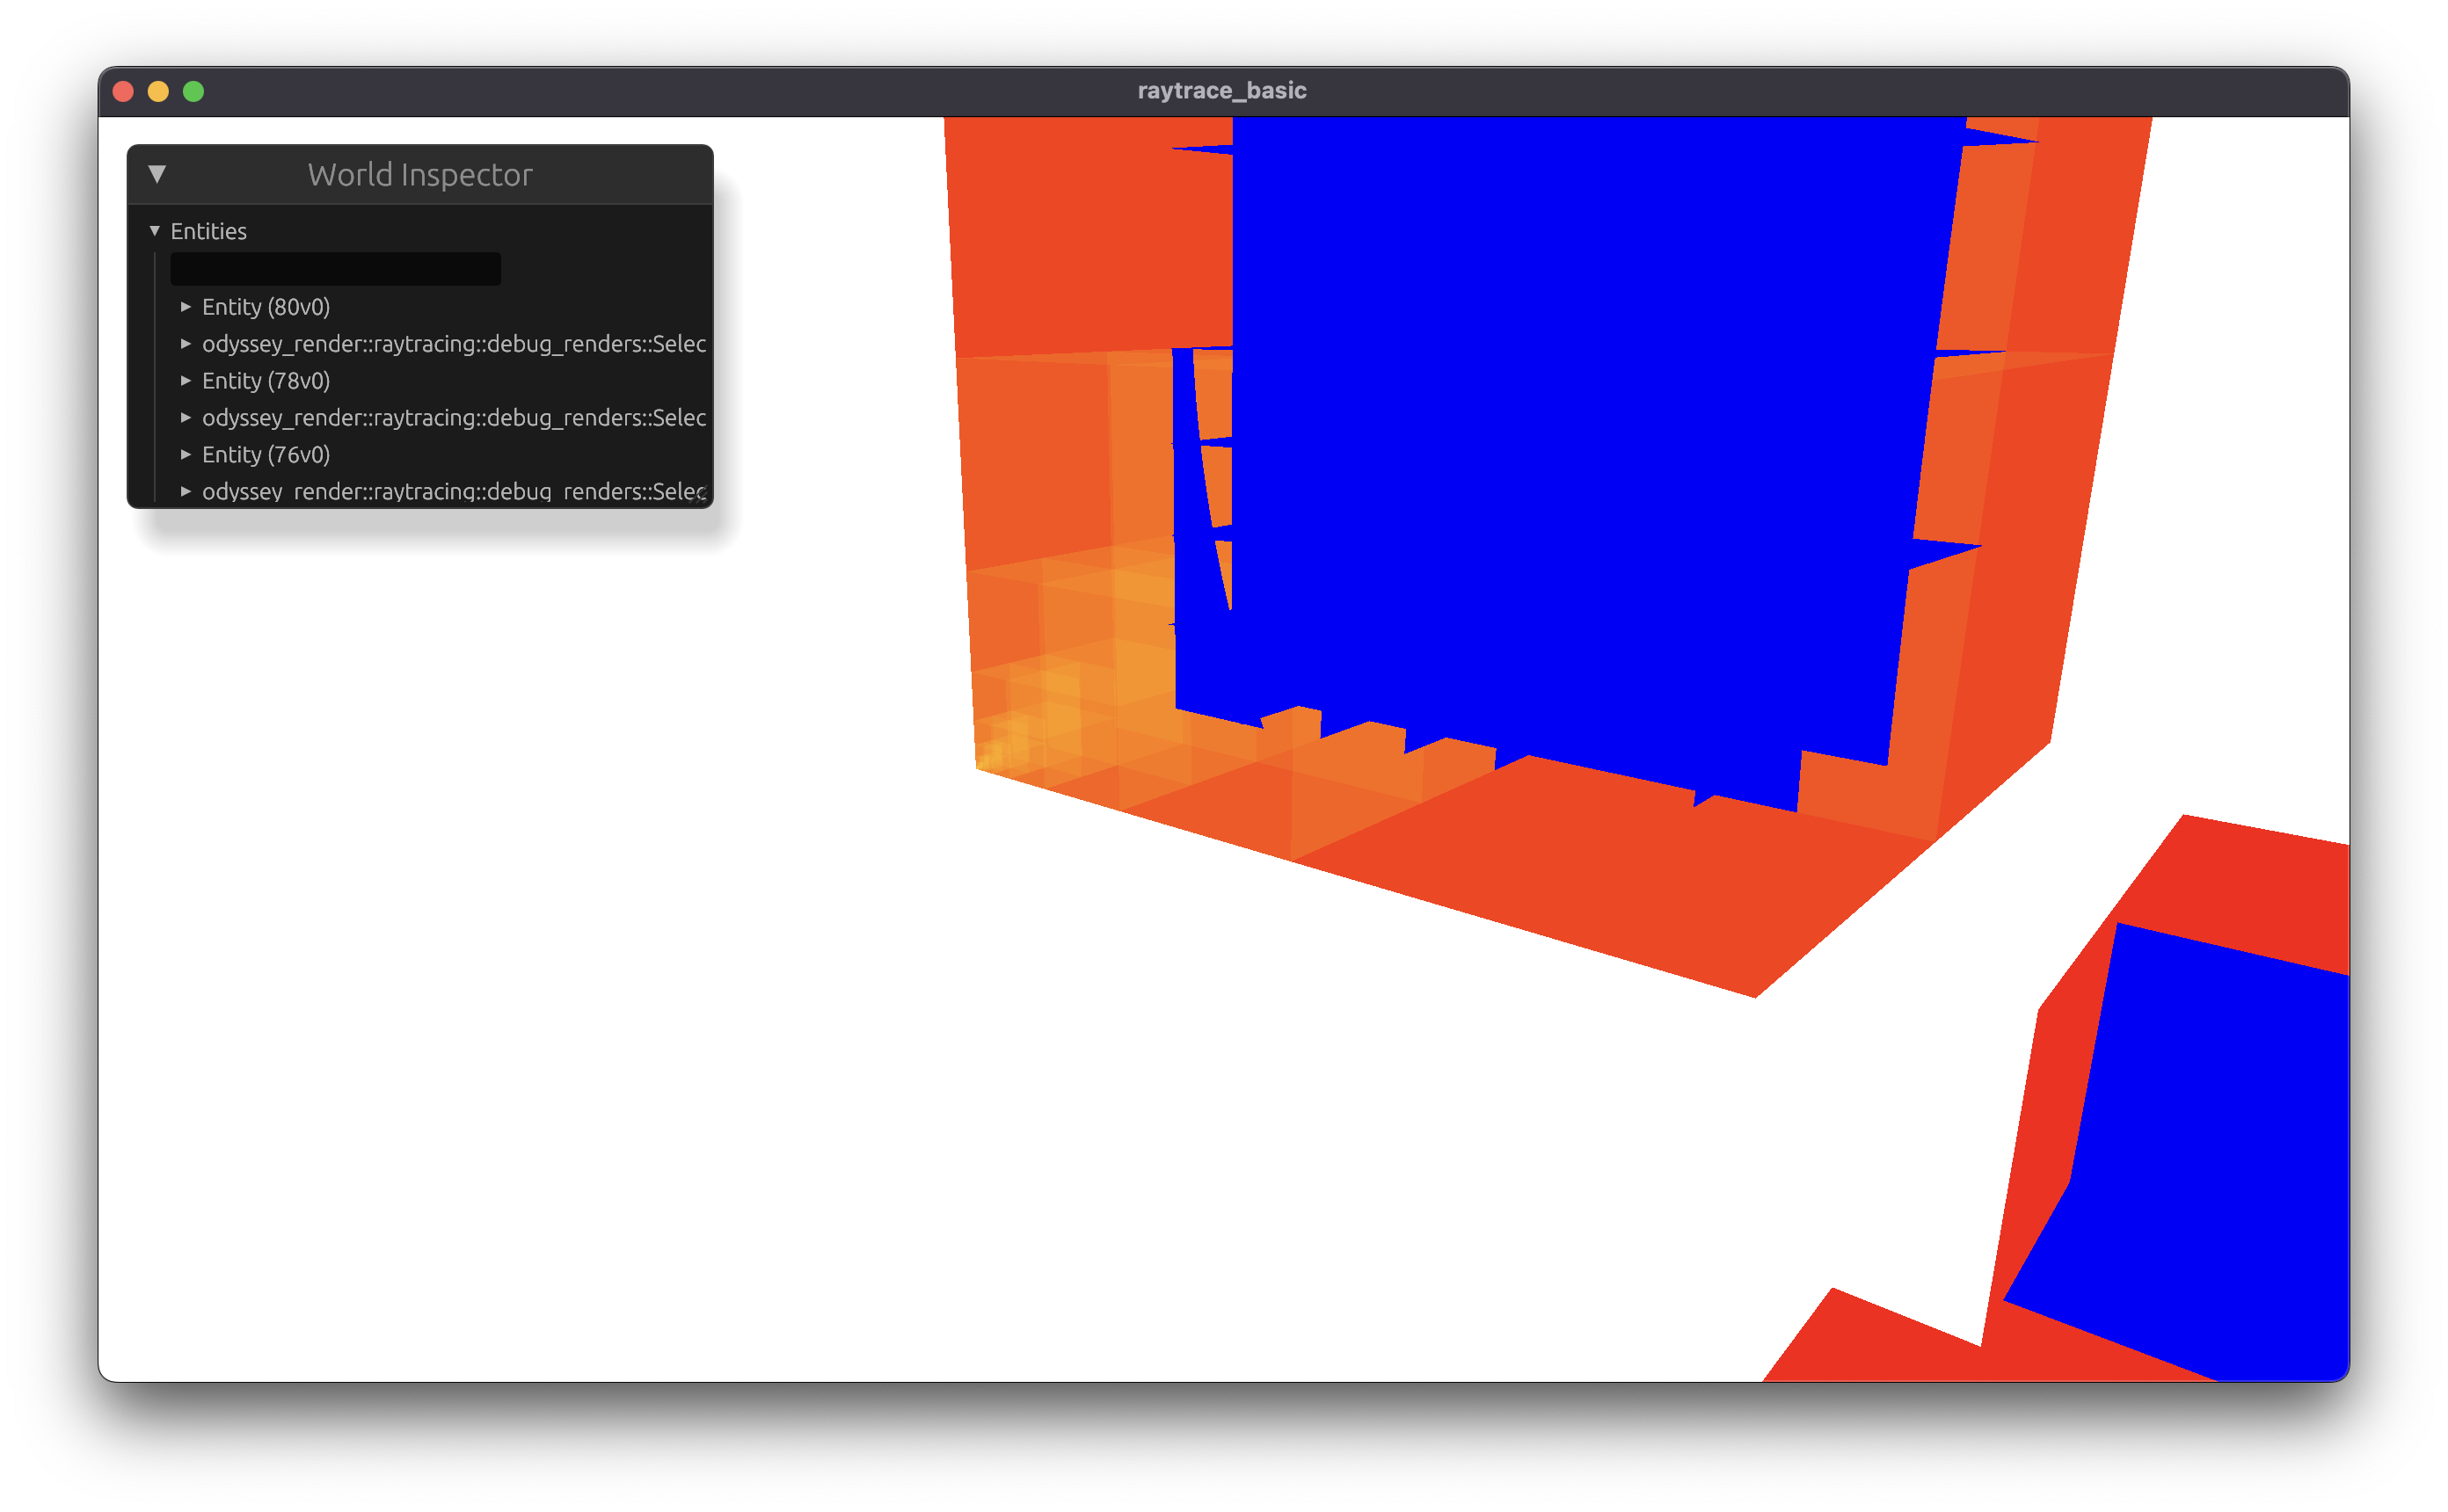
The through-line: every one of these was fixed by looking at the normals and step-count debug targets rather than the final image. A shaded render tells you something is wrong; the intermediates tell you where. Building those five debug targets early paid for itself many times over.